

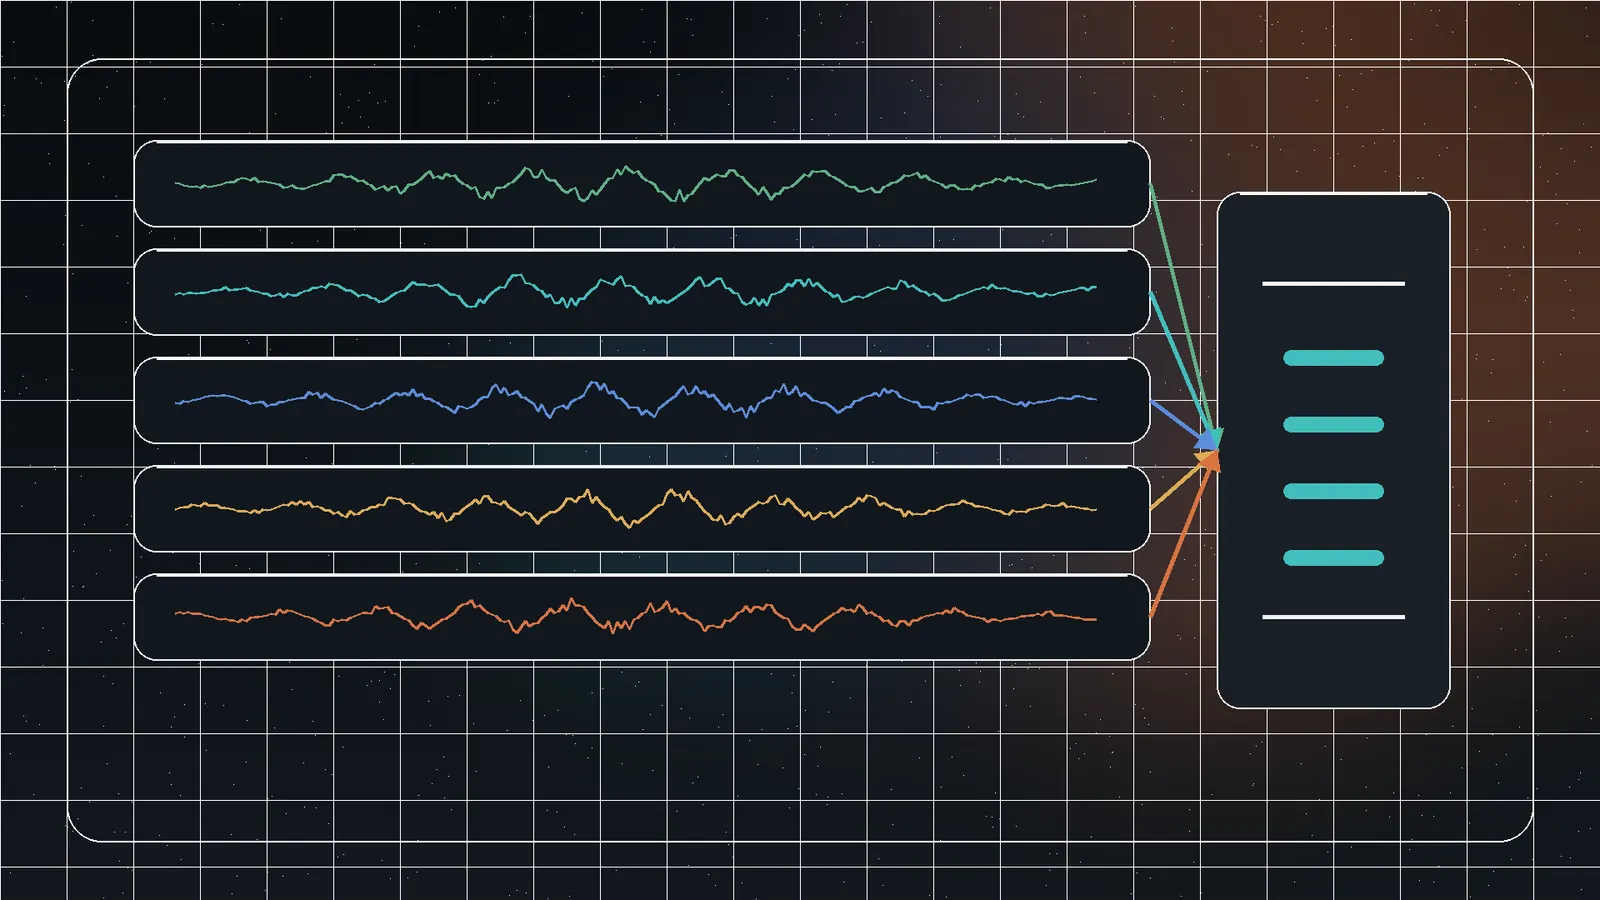
Peak level is not perceived loudness
Two files can share the same highest peak and still sound very different in volume. Perceived loudness depends on energy over time, frequency weighting, dynamics, and program structure. Modern workflows use measurements based on ITU-R BS.1770 and recommendations such as EBU R128 rather than peak normalization alone.
Peak normalization scales to a target peak. Loudness normalization scales based on an integrated loudness measurement and then checks peaks to prevent clipping.
Choose the target for the use case
| Use | Priority | Watch for |
|---|---|---|
| Podcast episodes | Speech consistency | Music beds and dynamic guests |
| Video clips | Dialogue and headroom | Platform transcoding and true peaks |
| Music reference | Comfortable comparison | Do not confuse normalization with mastering |
| Voice prompts | Stable intelligibility | Noise and microphone distance |
| Archive conversion | Preserve quality | Unnecessary lossy re-encoding |
Measure loudness and peaks together
Integrated loudness summarizes the program; short-term and momentary measures show variation. True-peak estimation predicts peaks between samples during reconstruction. A file may reach the loudness target but exceed a safe peak ceiling after gain.
Lowering a clipped file makes distortion quieter. It cannot recreate the lost waveform or remove noise and poor recording balance.
Prepare the batch
- Keep originals.
- Group files by delivery context.
- Listen for clipping, silence, noise, and extreme dynamics.
- Choose output format, sample rate, and channels.
- Decide whether metadata must be preserved.
Do not force mono voice and stereo music into one layout without understanding the result.
Use Jivaro’s Batch Audio Normalizer
Open Batch Audio Normalizer and add MP3, M4A, WAV, FLAC, or OGG files.
Add a manageable batch.
Review starting loudness and peaks.
Choose target, format, sample rate, and channels.
Process selected or all files locally.
Compare results before downloading or ZIP export.
Large queues consume browser memory and CPU; process smaller groups when decoding becomes unstable.
Avoid unnecessary transcoding
WAV and FLAC can preserve lossless audio. MP3, M4A/AAC, and OGG/Vorbis are usually lossy. Re-encoding a lossy source introduces another generation of loss. Converting a low-bitrate MP3 to FLAC does not restore quality.
- Keep the original codec when possible.
- Use a lossless intermediate for multi-stage editing.
- Keep the original sample rate unless delivery requires another.
- Listen for pre-echo, smeared transients, metallic voice artifacts, and lost high frequencies.
Sample rate and channels
Increasing sample rate does not recreate missing frequencies. Stereo-to-mono summing can cause cancellation or level changes. Test the result on headphones and a mono playback path when delivery includes phones or small speakers.
Quality-control the normalized files
- Compare transitions at normal listening volume.
- Check the loudest and quietest files.
- Listen for clipping and limiter pumping.
- Verify silence and fades.
- Confirm sample rate and channels.
- Check filenames, duration, and playback after export.
A loudness number is a measurement, not a listening test.
When to use a full editor
Use a digital audio workstation for noise reduction, equalization, de-essing, compression, restoration, multitrack mixing, metadata editing, or detailed mastering. Batch normalization is useful because it is narrow.
Why one target can still sound inconsistent
Two files at the same integrated loudness can feel different because one is dense and compressed while another has long quiet sections and short peaks. Spoken-word files with silence also produce misleading whole-program measurements when silence handling differs. Listen to the active content and compare short-term behavior, not only the final integrated number.
If a file cannot reach the target without exceeding the peak ceiling, decide whether to accept a quieter result or use controlled dynamic processing in a full editor. Do not silently hard-limit every file merely to hit one number.
Create a repeatable batch record
Record target loudness, peak ceiling, source and output formats, sample rate, channels, app version, processing date, and exceptions. Keep a small before/after listening set. A documented preset turns normalization from an improvised click sequence into a repeatable media workflow.
Frequently asked questions
Peak normalization targets the highest sample; loudness normalization targets perceived program loudness and then checks peaks.
No. It cannot restore waveform detail already lost.
No. FLAC can preserve the decoded result but cannot recover removed information.
Browser decoding and encoding can consume substantial memory and CPU.
Related Jivaro apps
Analyze loudness and true peaks, normalize multiple audio files to streaming, broadcast, or custom targets, preview gain, and export audio plus CSV reports locally.
Open appSources and references
- EBU R128European Broadcasting Union · reference
- ITU-R BS.1770International Telecommunication Union · reference
- OfflineAudioContextMDN Web Docs · reference
- Web audio codec guideMDN Web Docs · reference
- Batch Audio NormalizerJivaro · first-party