

Decide what the watermark must accomplish
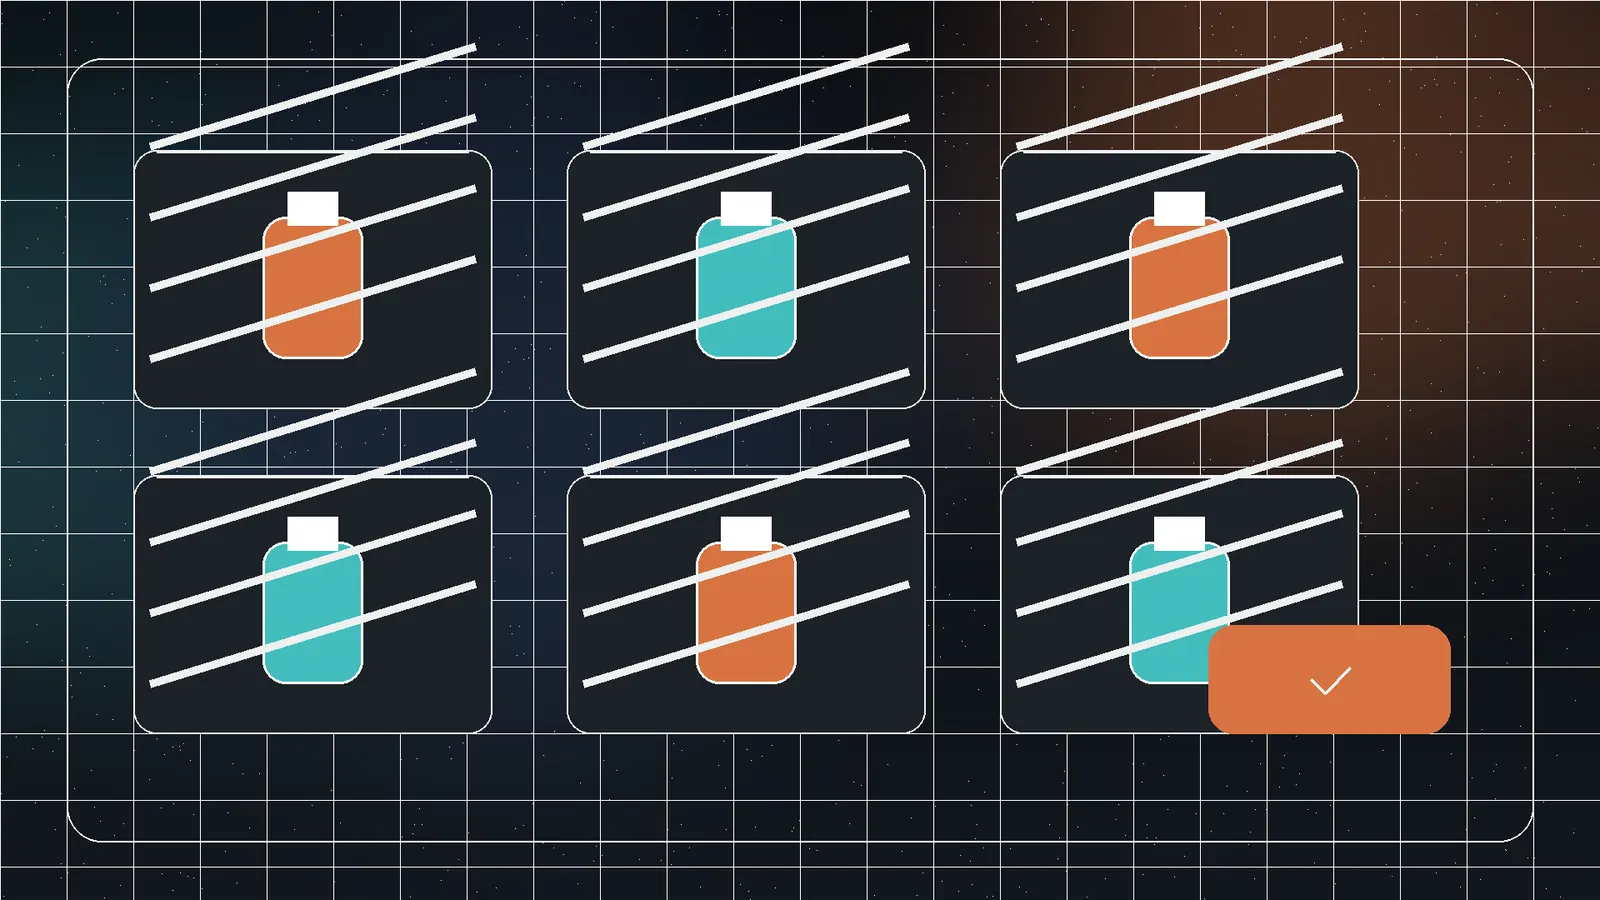
A watermark can identify ownership, mark a proof, tie a preview to a client, or discourage casual reuse. It cannot stop a determined person from cropping, retouching, or recreating the image. The mark must preserve the product information the photograph exists to show.
Keep clean masters outside the batch
- Copy source photos to a working folder.
- Preserve full-resolution editable masters.
- Finish crop, color, and retouching first.
- Choose delivery dimensions and format per channel.
- Create a test batch with light, dark, busy, and simple images.
Watermarking is a delivery step. Repeated resizing and lossy encoding after it can soften both product detail and the mark.
Choose text, logo, combined, or tiled
| Mode | Best use | Tradeoff |
|---|---|---|
| Text | Draft, proof, URL, or identifier | Typography must work across images |
| Logo | Brand identification | Can disappear on similar colors |
| Combined | Brand plus status/trace label | More visual weight |
| Tiled | Previews where cropping is a concern | Most intrusive |
Control opacity and contrast
One opacity value will not work equally on every background. A backing, outline, or shadow can make the mark readable without increasing opacity excessively. Inspect at thumbnail and full size; fine marks may disappear or turn into noise when images are reduced.
Place the mark around the product
Corner marks are less intrusive but easy to crop. Center marks are harder to remove but can cover detail. Tiled marks improve coverage at the cost of clarity.
- Avoid labels, serials, ingredients, dimensions, faces, and controls.
- Use consistent edge margins.
- Account for common crops.
- Keep a safe area for portrait and landscape variants.
- Use unique proof identifiers when traceability matters.
Use Jivaro’s Image Watermarking Tool
- Open Image Watermarking Tool.
- Add a representative batch; processing stays local.
- Choose text, logo, combined, or tiled mode.
- Adjust opacity, size, spacing, rotation, and placement.
- Inspect light, dark, and busy photos.
- Resize outputs only when required.
- Choose JPG, PNG, or WebP.
- Export individually or as a ZIP.
Decoded images consume much more memory than compressed file size suggests. Keep batches manageable and watch for browser canvas limits.
Choose the output format
Efficient and common; every re-encode is lossy.
Lossless but often large for photos.
Efficient with transparency support; verify channel compatibility.
Keep originals separately and avoid unnecessary camera resolution in delivery files.
Respect channel rules
Marketplaces and advertising channels can restrict promotional text, borders, logos, or overlays on primary images. Maintain an unwatermarked master and export channel-specific versions rather than assuming one batch is valid everywhere.
Quality-control the batch
- Reconcile source and output counts.
- Check filename mapping.
- Inspect the lightest and darkest images.
- Inspect images where the product approaches the mark.
- Check thumbnail and full-size views.
- Verify dimensions, format, transparency, and file size.
- Open samples in a second viewer.
- Record settings for repeat batches.
Use traceability without exposing customer data
Client proofs can include a non-sensitive order or proof ID rather than a name, email, or account number. Keep the mapping in an internal record. Unique identifiers help identify the source of a leaked proof without publishing personal information across the image itself.
Automate only after the design is stable
Save a documented preset for logo file, opacity, scale, placement, margins, output size, format, and quality. Recheck the preset when source dimensions or branding change. A batch tool applies errors consistently as efficiently as it applies correct settings, so approve a representative contact sheet before processing the full catalog.
Frequently asked questions
There is no universal value. Test light, dark, and busy images at thumbnail and full size.
It is harder to crop but more likely to cover detail. Choose placement by protection goal and safe area.
JPEG for photos, PNG for lossless/transparency needs, and WebP for efficient web delivery where supported.
No. Channel rules and crops vary; keep an unwatermarked master and create separate outputs.
Related Jivaro apps
Add text, logo, combined, or tiled watermarks with per-image placement, filename variables, and reusable presets, then export JPG, PNG, WebP, or ZIP files locally.
Open appSources and references
- Image file type and format guideMDN Web Docs · reference
- WebPGoogle Developers · reference
- Image Watermarking ToolJivaro · first-party