

If you have ever opened a folder full of files named IMG_4921.jpg, Screenshot 2026-05-27.png, or DSC_0047.jpeg, the problem is not the images themselves. The problem is the workflow: wrong dimensions, random filenames, inconsistent formats, heavy files, and too many one-off edits before the images are ready for a page.
The fastest way to bulk resize and rename images online is to handle the batch in one pass: add the images, choose the output size, choose the format, apply a naming pattern, preview the result, and download a clean ZIP.
Bulk Image Resizer is built for that kind of image-prep workflow. The source article describes Bulk Image Resizer as a browser tool for resizing, optimizing, renaming, previewing, and packaging web-ready images, with files staying local until the ZIP is downloaded.
When bulk image resizing is worth doing
Bulk resizing is worth it whenever you are preparing more than a few images for a website, blog, store, social post, portfolio, documentation page, or client handoff. One image can be fixed manually. Twenty images should not be.
| Situation | What usually goes wrong | Better workflow |
|---|---|---|
| Blog posts | Hero images are too large, screenshots have random names, and formats are inconsistent. | Resize to a blog hero preset, convert to WebP or JPEG, and rename with the article slug. |
| Ecommerce listings | Product photos have camera names and mismatched dimensions. | Resize to square or platform-specific dimensions and apply a product naming pattern. |
| Social media | Images need different aspect ratios for posts, stories, thumbnails, and link previews. | Use platform presets for posts, stories, thumbnails, or Open Graph images. |
| Documentation | Screenshots need consistent filenames and widths. | Use a naming pattern with index numbers and output dimensions. |
| Client delivery | Files need to be organized and easy to audit. | Export a ZIP with renamed images and a manifest CSV. |
Bulk Image Resizer is most useful when the task is not just “make the picture smaller.” The source page describes a combined flow for resizing, renaming, format conversion, compression targeting, previewing, manifest output, responsive embed HTML, and ZIP export.
Why bulk renaming images matters
Bulk renaming is not only about neat folders. It helps humans, content systems, and search engines understand what each file is. Google’s image SEO guidance says the surrounding page, captions, image titles, filenames, and alt text can help describe image subject matter. It also says filenames can give Google “very light clues,” so the right standard is short and descriptive, not keyword-stuffed.
A filename like this is almost useless:
IMG_4921.jpg
A filename like this is easier to audit later:
blue-linen-shirt-front-01.webp
For a blog image batch, a cleaner set might look like this:
bulk-resize-rename-images-hero.webp
bulk-resize-rename-images-settings-01.webp
bulk-resize-rename-images-export-02.webp
For a product batch, you might use:
ceramic-coffee-mug-front-01.webp
ceramic-coffee-mug-side-02.webp
ceramic-coffee-mug-detail-03.webp
The goal is not to cram keywords into every file. The goal is to make the filename short, descriptive, consistent, and useful. Bulk Image Resizer helps by letting you apply naming tokens before export. The source article lists visible options such as {name}, {index}, {width}, {height}, {format}, and {preset}.
How Bulk Image Resizer works
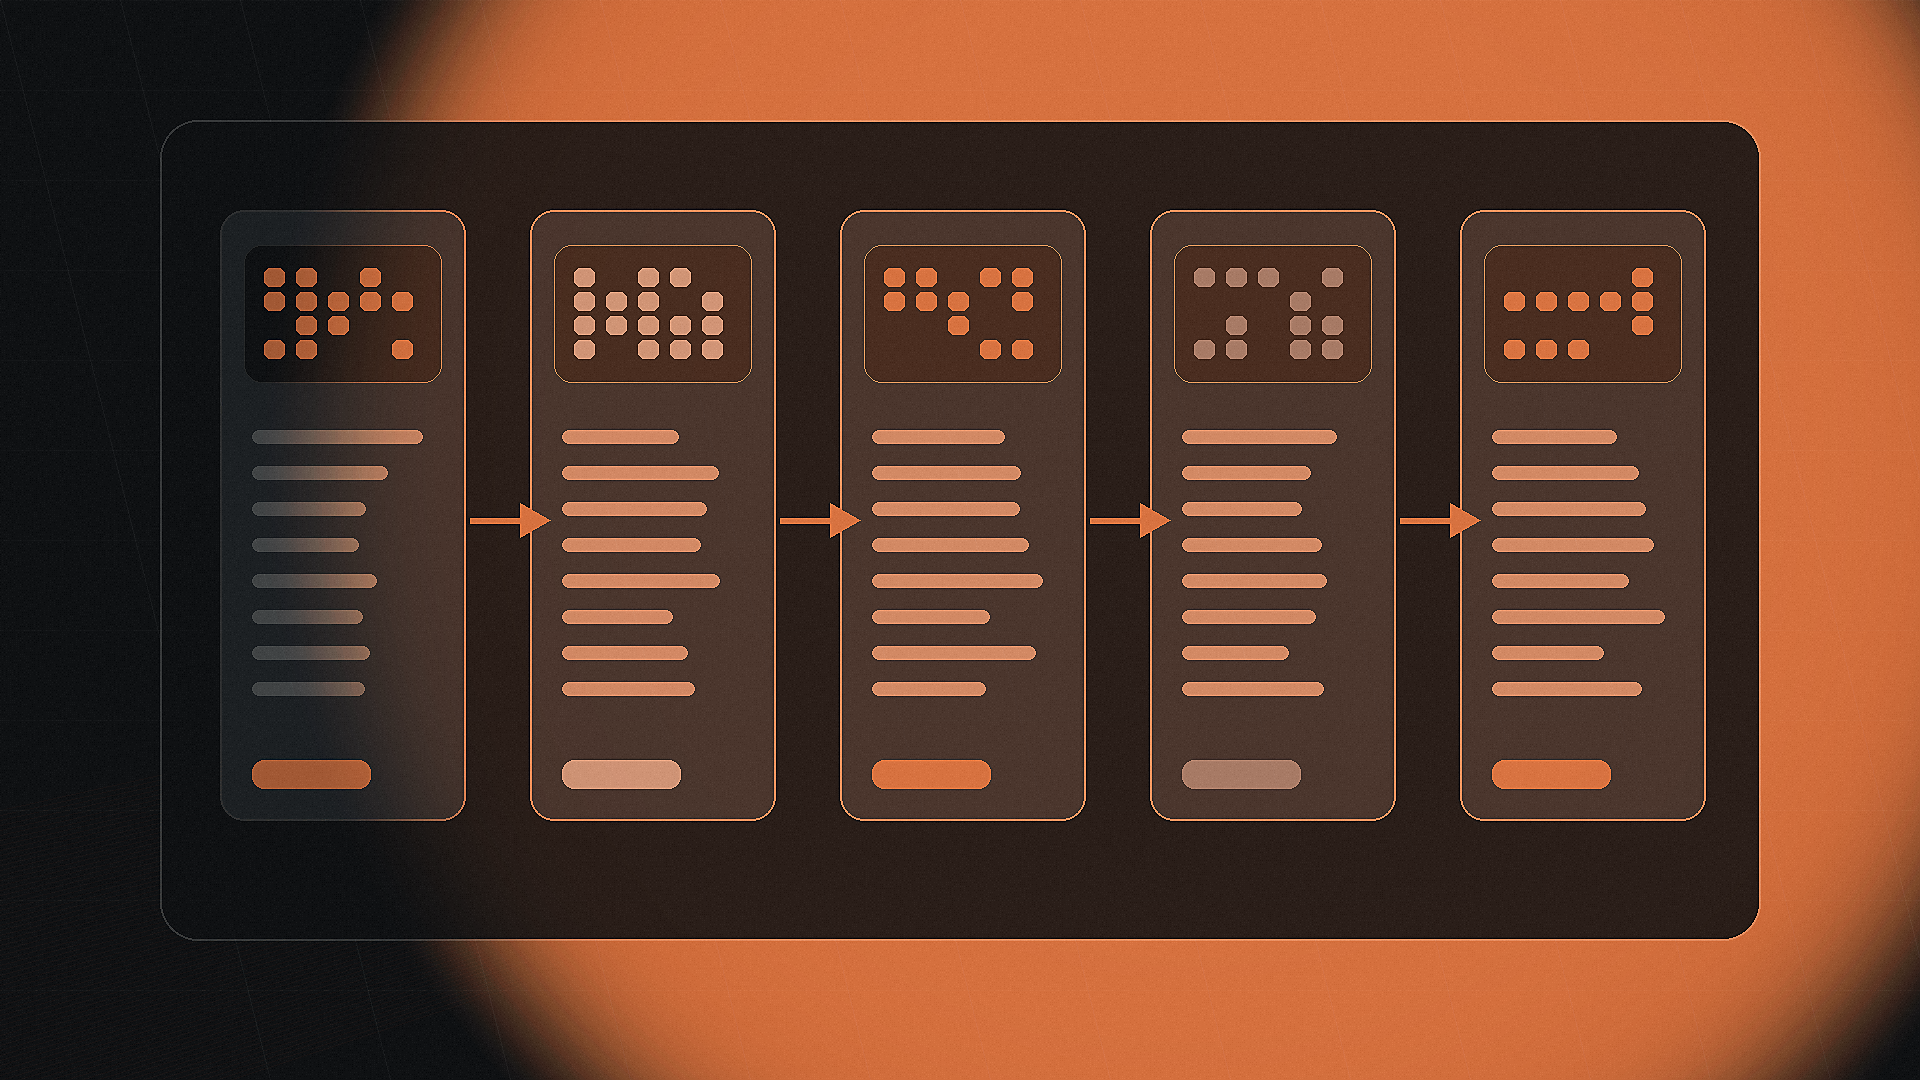
The Bulk Image Resizer workflow is straightforward:
- Add one image or a full batch.
- Review the queue.
- Apply a filename pattern.
- Choose a preset or custom dimensions.
- Pick fit, crop, stretch, percentage, or original size.
- Choose WebP, JPEG, or PNG.
- Set quality and optional target file size.
- Preview the output.
- Export the optimized batch as a ZIP.
The app page also describes support for common browser-readable formats, with animated images treated as still images. That makes Bulk Image Resizer more than a single-purpose photo resizer: it can be used as a batch image resizer, bulk image renamer, WebP converter, image compressor, and web-asset prep tool.
Open Bulk Image Resizer
Use Bulk Image Resizer when you need to prepare a batch of web images without repeating the same resize, rename, and export steps manually.
Bulk Image Resizer settings, explained
| Setting | What it does | Use it when |
|---|---|---|
| Platform preset | Applies common dimensions such as Instagram Post, YouTube Thumbnail, Open Graph, Product Square, Blog Hero, and other destination sizes. | You are preparing images for a known destination. |
| Custom width and height | Lets you define exact pixel dimensions. | Your CMS, theme, ad slot, or design system has a specific size. |
| Fit inside size | Keeps the whole image visible inside the target box. | You do not want any cropping. |
| Fill and crop | Fills the target dimensions and crops overflow. | You need exact dimensions, such as thumbnails or square product photos. |
| Stretch exactly | Forces the image to match the target dimensions. | Only use when distortion is acceptable. |
| Resize by percentage | Scales images relative to their original size. | You want every image reduced by the same percentage. |
| WebP output | Converts images to WebP. | You want web-ready images for modern browser workflows. |
| JPEG output | Exports as JPEG. | You need broad compatibility and no transparency. |
| PNG output | Exports as PNG. | You need transparency or crisp UI-style imagery. |
| Target max KB | Attempts to keep JPEG/WebP output under a chosen file size. | You have upload limits or performance targets. |
| Manifest CSV | Adds a record of exported files. | You want a batch audit trail. |
| Responsive embed HTML | Generates HTML for responsive image use. | You are preparing images for website implementation. |
Google describes WebP as a modern web image format with lossless and lossy compression, and says lossless WebP images are smaller than PNG and lossy WebP images are smaller than comparable JPEG images at equivalent quality. That does not mean WebP is always the right format, but it is often a strong first test for web publishing.
The cleanest bulk resize workflow
Start with the destination, not the image folder. A common mistake is opening a batch resizer and immediately choosing a random width. A better workflow is to decide where the images will go first.
- Choose the destination: blog, product page, social media, gallery, documentation, or link preview.
- Select a preset in Bulk Image Resizer, or set custom width and height.
- Pick the resize behavior: fit, crop, stretch, percentage, or original size.
- Choose the output format: WebP, JPEG, or PNG.
- Set quality and optional target max KB.
- Apply a filename pattern.
- Preview the batch.
- Export the ZIP.
| Blog image need | Bulk Image Resizer setup |
|---|---|
| Article hero image | Blog Hero preset, WebP output, descriptive filename pattern |
| Open Graph link preview | Open Graph / Link Share preset, JPEG or WebP output |
| Inline screenshots | Fit inside custom width, WebP output, medium-high quality |
| Product images | Product Square preset, fill and crop, indexed filenames |
| Client gallery | Custom size, fit inside size, manifest CSV included |
If you are preparing images for a website, the responsive embed HTML option can also help with implementation. Responsive images commonly rely on HTML patterns such as srcset and sizes, which let the browser choose an appropriate image for the user’s device and layout. MDN’s image guide also recommends using descriptive filenames, alt text, and width/height attributes where appropriate.
How to bulk rename images with patterns
The best naming pattern depends on the job. Use a human-readable base name plus a token for ordering, dimensions, format, or preset.
| Use case | Suggested pattern | Example |
|---|---|---|
| Blog post | article-slug-{index} | bulk-resize-images-01.webp |
| Blog hero | article-slug-hero | bulk-resize-images-hero.webp |
| Ecommerce product | product-name-angle-{index} | linen-shirt-front-01.webp |
| Portfolio | project-name-{index} | branding-project-03.webp |
| Documentation | feature-name-step-{index} | imagepress-export-step-02.webp |
| Link preview | page-slug-og-image | imagepress-og-image.webp |
Stay short, descriptive, and consistent. Avoid spaces, vague camera names, and long strings of repeated keywords.
Choosing the right output format
| Format | Best for | Avoid when |
|---|---|---|
| WebP | Blog images, web galleries, product photos, screenshots, and general web use. | You need a legacy workflow that does not accept WebP. |
| JPEG | Photos, large visuals, and broad compatibility. | You need transparency or sharp UI edges. |
| PNG | Transparent graphics, diagrams, and crisp UI screenshots. | You need very small files for photo-heavy pages. |
For most web publishing, WebP is a good first test because it often provides smaller files at similar visual quality. Still, format choice should be practical. If your CMS, ad system, newsletter tool, or marketplace rejects WebP, use JPEG or PNG. If you need transparency, PNG or WebP may make more sense than JPEG.
Bulk Image Resizer vs. doing it manually
| Workflow | Good for | Main problem |
|---|---|---|
| Manual resize and rename | One or two images | Too slow for batches |
| Desktop editor | Professional editing, retouching, and design work | Often heavier than needed for simple batch prep |
| Basic online resizer | Quick dimension changes | May not handle naming, compression, presets, ZIP export, or embed code |
| Basic renaming tool | Filename cleanup | Does not resize, convert, or optimize |
| Bulk Image Resizer | Batch resize, rename, optimize, preview, convert, and export | Not a full photo editor or retouching suite |
Use Bulk Image Resizer when the goal is clean output, not deep editing. If you need to remove backgrounds, retouch images, build graphics, or edit layers, use a design or photo-editing app first. Then use Bulk Image Resizer to prepare the finished assets for web use.
Common mistakes when resizing and renaming images
The biggest mistake is treating every image the same. A product photo, a blog hero, a YouTube thumbnail, a link-preview image, and a screenshot do not need the same dimensions or naming pattern.
| Mistake | Why it hurts | Better approach |
|---|---|---|
| Uploading full-size camera photos | Large files can slow pages and make uploads harder to manage. | Resize before uploading. |
| Keeping camera filenames | IMG_4921.jpg tells you almost nothing. | Use short descriptive filenames. |
| Cropping without previewing | Important details can be cut off. | Preview framing before export. |
| Stretching by accident | People and products can look distorted. | Use fit or fill/crop unless stretching is intentional. |
| Over-compressing | The file gets smaller, but visible quality drops. | Lower quality gradually and preview. |
| Mixing formats randomly | The folder becomes harder to manage. | Choose WebP, JPEG, or PNG based on the use case. |
| Not keeping a record | Large batches become hard to audit. | Include a manifest CSV when useful. |
A quick example: preparing 24 blog images
Imagine you have 24 screenshots and photos for a tutorial. The original folder is a mess:
Screenshot 2026-05-27 at 9.41.22 AM.png
IMG_4820.jpeg
download-final-final.png
DSC_0047.jpg
A clean Bulk Image Resizer workflow could be:
| Step | Setting |
|---|---|
| Upload | Add all 24 files to Bulk Image Resizer |
| Destination | Blog tutorial |
| Preset | Blog Hero for hero image, custom width for inline screenshots |
| Resize behavior | Fit inside size for screenshots, fill and crop for hero |
| Format | WebP |
| Quality | Start around the default quality and adjust after preview |
| Naming pattern | imagepress-tutorial-{index}-{width}x{height} |
| Export | Include manifest CSV and download ZIP |
After export, the folder is easier to understand:
imagepress-tutorial-01-1600x900.webp
imagepress-tutorial-02-1200x800.webp
imagepress-tutorial-03-1200x800.webp
That folder is easier to upload, audit, and reuse later.
A clean image workflow is not complicated: name files before they become impossible to track, resize before uploads get slow, choose the format based on the destination, preview before exporting, and use Bulk Image Resizer when there is more than one image to prepare.
Frequently asked questions
Use a batch image tool such as Bulk Image Resizer. Add the images, choose a size or preset, pick a resize behavior, choose WebP, JPEG, or PNG, apply a filename pattern, preview the batch, and export the finished files as a ZIP.
Yes. The Bulk Image Resizer source page describes WebP, JPEG, and PNG output options, plus quality controls and a target max KB option for JPEG and WebP output.
Descriptive filenames can help a little, but they are only one small signal. Google recommends short descriptive filenames and useful alt text while warning against keyword stuffing.
Use fit when the full image must remain visible, fill and crop when you need exact dimensions, and stretch only when distortion is acceptable.
Bulk Image Resizer is designed to process the selected files in the browser. Review the app’s current privacy and network behavior before using sensitive images, and keep an original backup outside browser storage.
Use short lowercase words separated by hyphens, such as blue-ceramic-mug-front.webp. Describe the image accurately and avoid repetitive keyword stuffing.
Related Jivaro apps
Resize, compress, convert, rename, crop, and export multiple image variants with AVIF and HEIC support privately in your browser.
Open appCrop and convert PNG, JPG, WebP, GIF, BMP, and AVIF images to optimized SVG, remove backgrounds, refine or recolor palettes, and export files or a ZIP.
Open appSources and references
- Google’s image SEO guidanceGoogle Developers · reference
- MDN’s image guideMDN Web Docs · reference
- Google WebP documentationGoogle Developers · reference
- web.dev: Learn Imagesweb.dev · reference